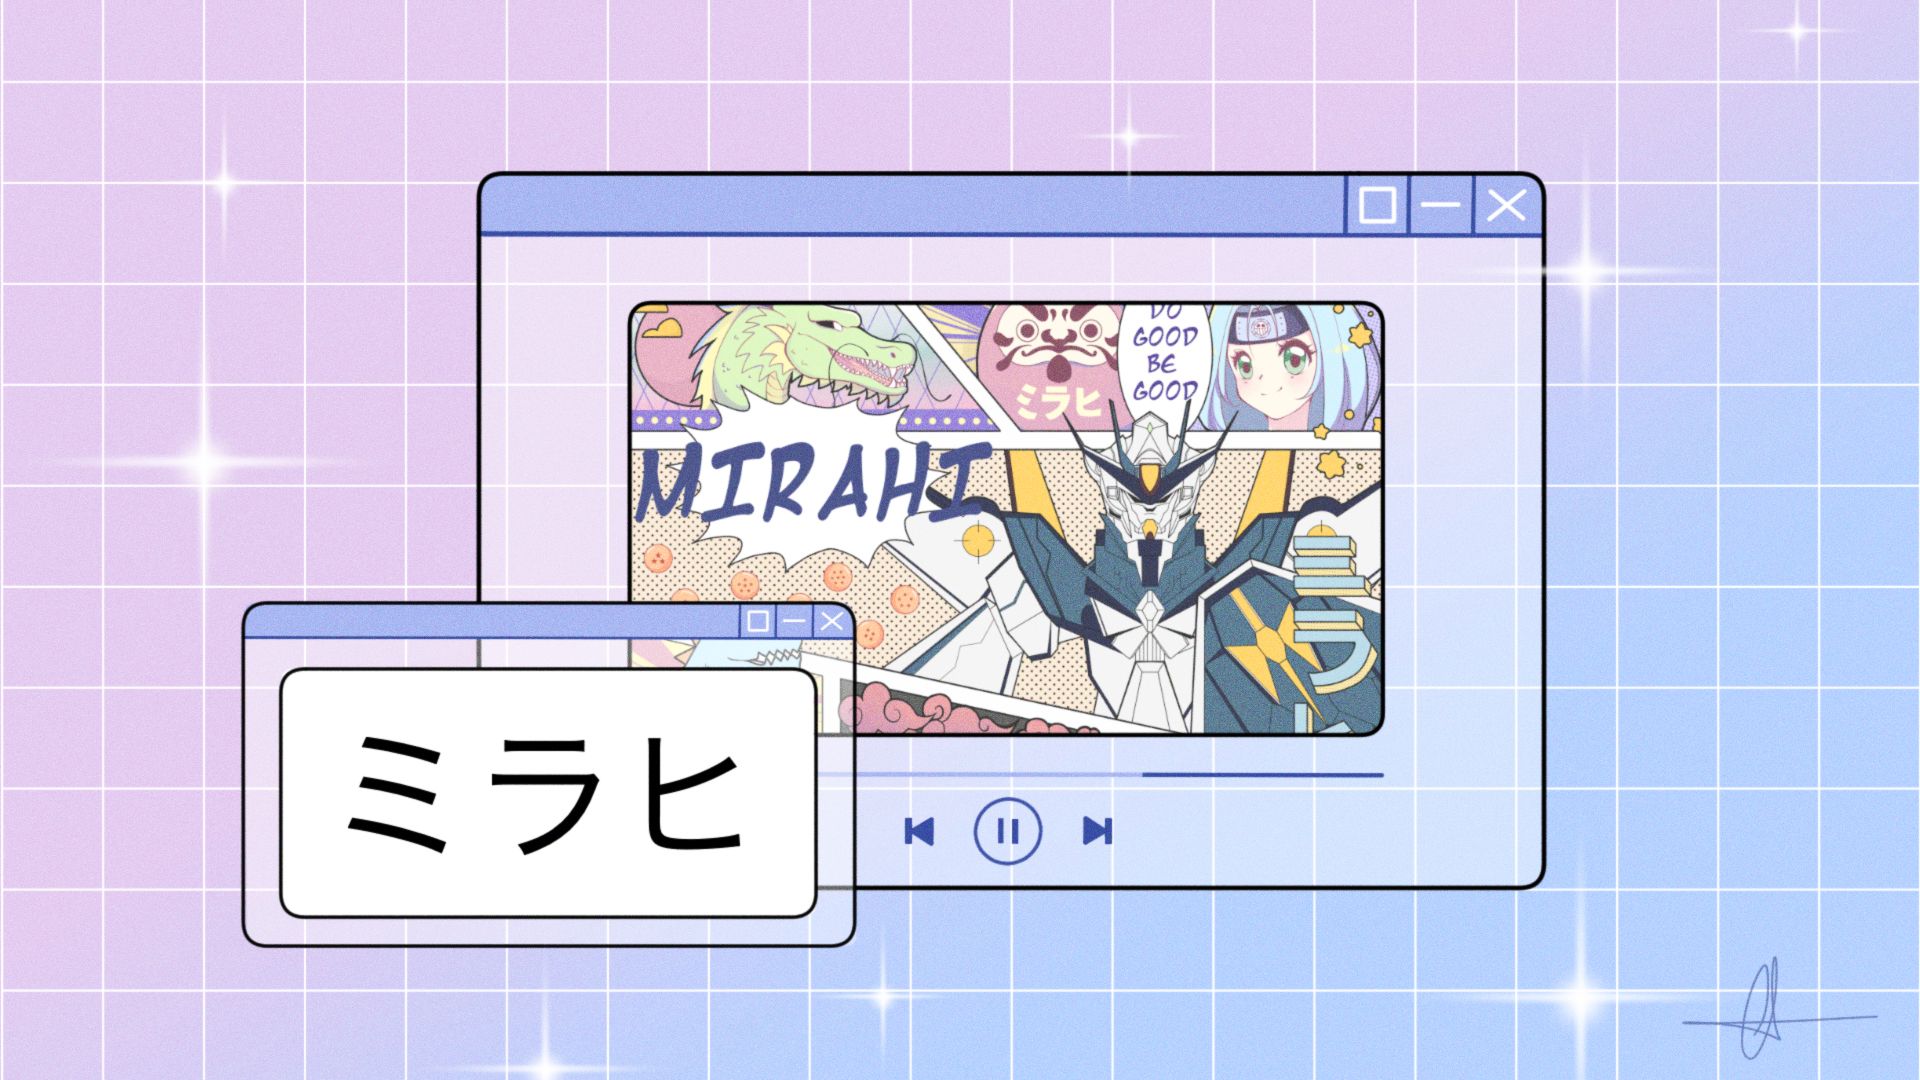
How we designed a (printed) mural for our office wall

If you want to add some personality to your home and make a big statement, consider painting a mural on your wall. It may seem daunting, but with some careful planning and a little elbow grease, you can create a beautiful work of art that will transform your space. Here’s how to design a mural for your wall from start to finish, and how we did it for our office!
An overview of the steps
1) Choose the wall
2) Take measurements
3) Look for inspiration
4) Choose your drawing program
5) Start sketching
6) Ask for validation (!)
7) Start rendering
8) Choose your partner company
8.1) Who to work with
8.2) Ask information for the required file size
8.3) Send all files and set a date
9) The day of installation
10) Enjoy your new mural
Choose the wall
First and foremost, which wall will house the mural? To be honest, it can be any wall, but because a mural is a big eye catcher, I think it's important to choose a wall where people will see it. A meeting room, an entrance hall, or anywhere where people will see it. It would be a shame to hang a mural on a wall in a hidden room where no one ever goes.
Take measurements
Wall measurements are critical. It will show you how big your design can be and what size you can work with. Imagine you have this crazy design idea for a long wall, only to discover it is square in shape. Pity!
If you, like us, decide to print the mural rather than paint it, accurate measurements are vital. You don't want the print to fall short of completely covering the wall or having to cut off a portion of your design. Unfortunately, we had incorrect measurements and had to cut a small section of our design, but fortunately, it had no effect on our design. To avoid this, measure carefully - don't make the same mistake we made!
Look for inspiration
When creating a mural for an indoor space, keep the overall aesthetic of the building in mind, as well as the purpose and function of the room where the mural will be placed. Gathering inspiration for your mural is an important step in the design process. The architectural style of the building, the history and culture of the community, or even the themes and activities that take place within the room itself can all serve as sources of inspiration.
It is also important to have a clear idea of the type of mural you want to create when looking for inspiration. Are you looking for a more abstract or representational mural? Do you want a calm and serene atmosphere, or something more lively and energetic? Once you've decided on the type of mural you want to make, you can start gathering inspiration that fits your vision.
Remember to keep an open mind and be willing to look for new sources of inspiration. The more inspiration you collect, the more opportunities you'll have to create a one-of-a-kind and impactful mural for your indoor space.
Choose your drawing program
When designing a mural for an indoor space, one of the most important decisions you'll need to make is choosing the right drawing program. With so many options available, it can be overwhelming to decide which one is best for your project. However, there are a few key things to keep in mind when selecting a program.
Printing a mural on a large scale requires high quality images, and vector programs like Adobe Illustrator or Figma are great choices for this because they allow for clean lines and crisp edges. However, if you're looking for a more cartoon-style mural, these programs may not be the best fit as they can be difficult to draw this style in.
Raster programs such as Photoshop or Clip Studio Paint are also excellent choices. These programs are great because they have adjustable DPI and canvas sizes, so you won't lose too much quality when printing your mural on a large scale. While vector programs are generally thought to be superior, raster programs can be a great choice if the style of drawing you want is better suited to them.
Finally, the best program for you will be determined by your personal preferences and the type of mural you wish to create. It's important to try out different programs and see which one feels the most natural to you. And once you've found the best one for your design and style, the options for making it look amazing are limitless!
Start sketching
Once you have a clear idea of the design you want to create and have chosen the appropriate drawing program, it's time to start sketching. Sketching is a crucial step in the mural design process as it allows you to explore different concepts and layouts before committing to a final design.
There are two main ways to sketch for a mural design, you can use traditional tools like pencil and paper or you can use the sketching tools available inside your drawing program. Both methods have their own advantages and it's up to you to decide which one you prefer.
Ask for validation (!)
It's time to seek validation after you've completed a rough sketch of your design and have a good sense of the overall composition and layout. This step is critical because it allows you to get feedback on your design before beginning the time-consuming process of rendering. Because a mural is a large and impactful piece of art, it is important to ensure that the final design is well-received by those who will see it. A mural can be interpreted differently by different people, so it's essential to make sure that the design is well-received by everyone who will be seeing it.
Remember that feedback, validation, and suggestions are important to the mural's success because they ensure that the design will be positively received and embraced by the people seeing it. Even if it isn't exactly what you envisioned, it is better to make changes now rather than later, when it will be more difficult to do so.
Start rendering
After you've received validation and made any necessary changes to your sketch design, it's time to begin the rendering process. The process of creating a final, polished version of your design using the tools and techniques of your chosen drawing program is known as rendering. At this point, your sketch will come to life and the details of your design will begin to take shape.
It is critical to consider the size of the wall when selecting a canvas to work on. A canvas that is too small will produce a low-quality final image, whereas a canvas that is too large will take a long time to render and may not be compatible with your computer's memory. Choose a canvas that is appropriate for the size of the wall and work with a high DPI setting to ensure that your design is sharp and clear when printed.
If you are working in a raster-based program like Photoshop or Clip Studio Paint, it is particularly important to pay attention to the DPI (dots per inch) setting as you render. When you are working on a large scale image, a higher DPI setting will ensure that the final image is sharp and clear, even when it is printed on a large surface.
And don't forget to regularly save your design!
Choose your partner company
Who to work with
When you've finished designing your mural and received final approval, it's time to start thinking about how to make it come to life on the wall. One of the most important steps in this process is choosing the right printing company to print and install your design on your wall.
There are numerous printing companies that specialize in the printing and installation of large-scale murals. It can be beneficial to conduct some research and compare options based on cost, quality, and lead time. It's also a good idea to ask people you know for personal experiences and recommendations, as this can give you a better idea of the quality of work you can expect.
Keep in mind that the printing company you choose should not be taken lightly; you must ensure that they are dependable and capable of delivering a high-quality final product that matches your design. The finished mural will make a big statement in the space, so it should be in the best condition possible to make the desired impact.
We decided to go with Signcube, an Aalter-based printing company. Because I knew the people who worked there and knew they did quality work, they were an obvious choice!
Ask information for the required file size
Asking for the required file size is an important step in the process, and it's essential to work closely with the printing company to ensure that your design is ready for printing and that the final product meets your expectations.
Remember, they are the experts and they know best, so don't hesitate to ask them for their recommendations to ensure that the final mural will be of high-quality and beautiful.
I know what you're thinking "But I already set a DPI and Canvas Size before starting my drawing, I can't change it aymore!" Don't worry! After finishing your design, you can still change the DPI, canvas size, and image size in both raster and vector programs.
Send all files and set a date
It's finally time to send them out and schedule an installation date! This is the final step in the process, but it is just as important as the previous ones. It guarantees that your mural will be installed on time and that the finished product will meet your expectations.
Make sure that all necessary files are supplied correctly and in the format requested by the printing company. This will help to avoid any delays or problems during the printing process. Check that you sent everything and confirm with them that they received all of the files.
The day of installation
The big day has arrived! Your mural has been printed by the printing company you selected, and it is now ready for installation on the wall. This is an exciting time because your design is finally coming to life after all of your planning and preparation.
Normally, the printing company will take care of the installation process, but it's always a good idea to communicate with them and check if they need any help from you. The installation process can be complex, and the professionals know best how to handle the process.
Enjoy your new mural
After all the planning, designing, and installation, the moment has finally arrived to enjoy your new mural. The process of creating a mural can be challenging, but the end result is a beautiful and impactful piece of art that will be admired by many for years to come! And of course, enjoy your new mural!
Read here how else we designed our office
