Deploy a Nuxt 3 application on AWS using SST serverless

In this post, we'll show you how how to deploy a Nuxt 3 app to your AWS account with SST (Severless Stack).
But first, what is SST? SST is short for Serverless Stack, it is a framework to help you build and deploy full-stack serverless applications. With SST, you can create APIs (REST or GraphQL or WebSocket, ...), databases (DynamoDB, PostgresSQL, etc.), Authentication (Cognito), Web Apps ( React.js, Next.js, Vue.js, Svelte, etc.); connect them all together, and deploy them to AWS.
The main difference between SST and other frameworks is that SST helps you with both the infrastructure for your app and your application code. All AWS services are available for use with SST because it's built on top of AWS CDK and allows you to use any CDK construct in SST.
SST comes with a CLI that can deploy your applications and help you debug and work on them locally.
Here are the requirements for the tutorial:
- Node.js >= 10.15.1
- We’ll be using TypeScript
- An AWS account with the AWS CLI configured locally
We will be covering the following:
- Create a SST app
- Create our infrastructure
- Setup our Nuxt app
- Configure Nuxt with SST
- Start the dev environment
- Deploy to AWS
- Cleaning up
Create an SST app
Let’s start by creating an SST app.
npx create-sst@latest --template=minimal/typescript-starter nuxt-3-app-aws
cd nuxt-3-app-aws
npm install
By default, our app will be deployed to an environment (or stage) called dev and the us-east-1 AWS region. We will change it to eu-central-1 in the sst.json in your project root.
{
  "name": "nuxt-3-app-aws",
  "region": "eu-central-1",
  "main": "stacks/index.ts"
}
The code in the stacks/ directory describes the infrastructure of your serverless app. SST uses AWS CDK.
Create our infrastructure
Our app is made up of a Nuxt app and a static site for the public folder within the Nuxt app.
Setup our Nuxt app
We are now ready to create our Nuxt app. To have a practical application with which we can experiment, we will deploy Nuxt movie, an app demo built using Nuxt 3, Vue 3, UnoCSS, Image Module, The Movie Database API and TypeScript.
Set up our Nuxt app in the app/ directory by running the following command in the project root
git clone https://github.com/nuxt/movies.git app/Add the app folder in the "workspaces" root package.json then run the following command:
npm installUpdate the nuxt.config.ts by adding the aws-lambda preset:
nitro: {
    preset: "aws-lambda",
},.output/server/index.mjs is compatible with AWS Lambda format.Configure Nuxt with SST
Now let’s configure SST to deploy our Nuxt app to AWS.
Replace the stacks/MyStack.ts with the following:
import {
  Api,
  Function,
  StackContext,
  StaticSite,
} from "@serverless-stack/resources";
import path from "path";
import fs from "fs-extra";
import { HttpMethods } from "aws-cdk-lib/aws-s3";
import { FunctionBundleProp } from "@serverless-stack/resources/src/Function";

import outputPackageJson from "../app/.output/server/package.json";

/**
 * We retrieve the bundledDependencies in the output package.json. We will need later to create a custom bundling configuration
 */
const bundledDependencies = [...(outputPackageJson.bundledDependencies || [])];

export function MyStack({ stack }: StackContext) {
  /**
   * We create an API that will execute the nuxt lambda handler
   */
  const nuxt = new Api(stack, "Nuxt", {
    /**
     * We setup a very permissive cors policy for the demo.
     * On production, we will make it stricter
     */
    cors: {
      allowHeaders: ["*"],
      allowMethods: ["ANY"],
      allowOrigins: ["*"],
    },
    /**
     * Uncomment if you want to setup a custom domain
     */
    // customDomain: {
    //   domainName: "",
    //   hostedZone: "",
    // },
  });

  /**
   * Set up the S3 bucket + CloudFront distribution for the public files.
   */
  const publicAsset = new StaticSite(stack, "PublicAssetCdn", {
    path: "./app/.output/public",
    // we wait for CloudFront cache invalidation to avoid any issue. It is increase the build time
    waitForInvalidation: true,
    cdk: {
      /**
       * We setup a very permissive cors policy for the demo.
       * On production, we will make it stricter
       */
      bucket: {
        cors: [
          {
            allowedHeaders: ["*"],
            allowedMethods: [
              HttpMethods.GET,
              HttpMethods.DELETE,
              HttpMethods.HEAD,
              HttpMethods.POST,
              HttpMethods.PUT,
            ],
            /**
             * Here we provide nuxt api url on the allowed origins
             */
            allowedOrigins: ["*", nuxt.url],
          },
        ],
      },
    },
  });

  /**
   * Set up a default route to handle all call http call to the nuxt application
   */
  nuxt.addRoutes(stack, {
    $default: new Function(stack, "EntryPointFunc", {
      srcPath: "./app/.output/server",
      handler: "index.handler",
      url: {
        /**
         * We setup a very permissive cors policy for the demo.
         * On production, we will make it stricter
         */
        cors: {
          allowHeaders: ["*"],
          allowMethods: ["*"],
          allowOrigins: ["*"],
        },
      },
      /**
       * We setup a custom bundle configuration to adapt to Nuxt lambda output
       */
      bundle: createBundleConfigurationForNuxtOutput(bundledDependencies),
      /**
       * Here we can provide environment variable
       */
      environment: {
        /**
         * We provide nuxt cdn url for the public folder
         */
        NUXT_APP_CDN_URL: publicAsset.url,
      },
    }),
  });

  /**
   * Show the endpoint in the output
   */
  stack.addOutputs({
    CdnUrl: publicAsset.url,
    NuxtEndpoint: nuxt.url,
  });
}

/**
 * By default, SST bundle and reinstall his dependencies. However, when nuxt build it handle all the bundling for us.
 * We have to update the bundle configuration to tell sst to not bundle again.
 * To do, we need to provide a package.json with all the bundled dependencies with their correct version
 * In the nuxt output, we have already a package.json with the `bundledDependencies`.
 * So, before the install in the sst bundling phase, we update this package.json.
 * We read their package version from the node_modules provide by the nuxt output
 */
function createBundleConfigurationForNuxtOutput(
    bundledDependencies: string[]
): FunctionBundleProp {
  return {
    /**
     * We force esm because nuxt output esm module
     */
    format: "esm",
    /**
     * We exclude some dependencies from the bundling
     */
    nodeModules: bundledDependencies,
    commandHooks: {
      beforeBundling: () => ["echo 'beforeBundling'"],
      beforeInstall: (inputDir) => {
        const inputPackageJson = fs.readJsonSync(
            path.join(inputDir, "package.json")
        );
        const dependencies = bundledDependencies
            .map((pkg) => {
              let version = "latest";

              try {
                version = fs.readJsonSync(
                    path.join(inputDir, "node_modules", pkg, "package.json")
                )?.version;
              } catch (e) {}

              return [pkg, version];
            })
            .reduce((acc, [pkg, version]) => {
              acc[pkg] = version;
              return acc;
            }, {} as Record<string, string>);

        fs.writeJSONSync(path.join(inputDir, "package.json"), {
          ...inputPackageJson,
          dependencies,
        });
        return ["echo 'beforeInstall'"];
      },
      afterBundling: () => ["echo 'afterBundling'"],
    },
  };
}
You can look at the code above. It has been well commented on. Let's put our app to the test now!
Start the dev environment
SST features a Live Lambda Development environment that allows you to work on your serverless apps in real time. You need to have an AWS account and AWS credentials configured locally. If you haven't already, follow these steps.
Run the following in your app directory.
npm run buildRun the following in your project root.
npm startThe first time you run this command it’ll take a couple of minutes to deploy your app and a debug stack to power the Live Lambda Development environment.

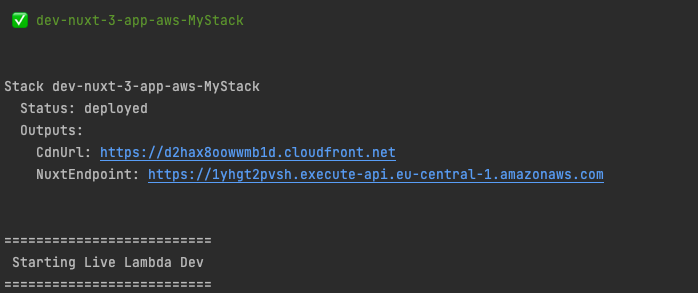
If you head over to the NuxtEndpoint in your browser, you should see your new Nuxt Movie app, but broken.

All required assets are not properly loaded.
The Live Lambda Development is a proxy to our local development. To solve this, we will add a server middleware to our Nuxt Movie app.
Add the app/server/middleware/sst-local-proxy-public-folder.ts with the following:
/**
 * This is needed when running `sst start`, so client-side assets can be loaded.
 */
import fs from "fs";
import path from 'path';
import { defineEventHandler, H3Response } from "h3";

export default defineEventHandler((event) => {

  /**
   * process.env.IS_LOCAL is set when we are running `sst start`.
   * Therefore, we know when we need to proxy the assets to the local files
   */
  if (!process.env.IS_LOCAL) {
    return;
  }

  const url = event.req?.url;
  /**
   * It is nuxt asset ?
   */
  const matches = url?.match(/^\/_nuxt\/(.*)/);

  if (!matches) {
    return;
  }

  /**
   * Get the requested asset from the disk
   */
  const contents = fs.readFileSync(path.resolve( `./app/.output/public/_nuxt/${matches[1]}`), {
    encoding: "utf8",
  });
  let mimeType: string;

  if (/\.m?js$/.test(url)) {
    mimeType = "application/javascript";
  } else if (/\.css$/.test(url)) {
    mimeType = "text/css";
  } else if (/\.ico$/.test(url)) {
    mimeType = "image/x-icon";
  } else { // Here we could improve the mimeType parsing
    mimeType = "text/html";
  }

  event.res.setHeader("Content-Type", mimeType);
  return contents;
});
Keep in mind that any changes to the Nuxt app itself will require you to restart the sst start process, build the nuxt app again and then run npm run start again as well.
Deploy to AWS
To wrap things up we’ll deploy our app to prod.
Run the following in your project root.
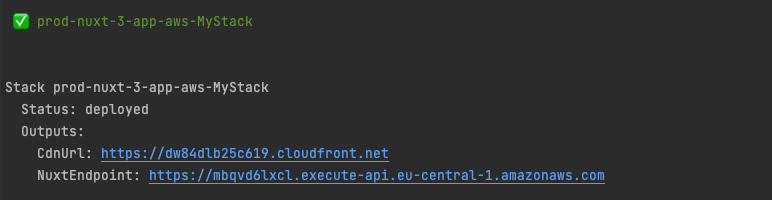
npm run deploy -- --stage prodWhen you’re working on an application, it’s essential that you have a way to separate your local environment from the production environment. Stage allows us to separate our environments, so when we are working in our local environment, it doesn’t break the app for our users.
Once deployed, you should see something like this.
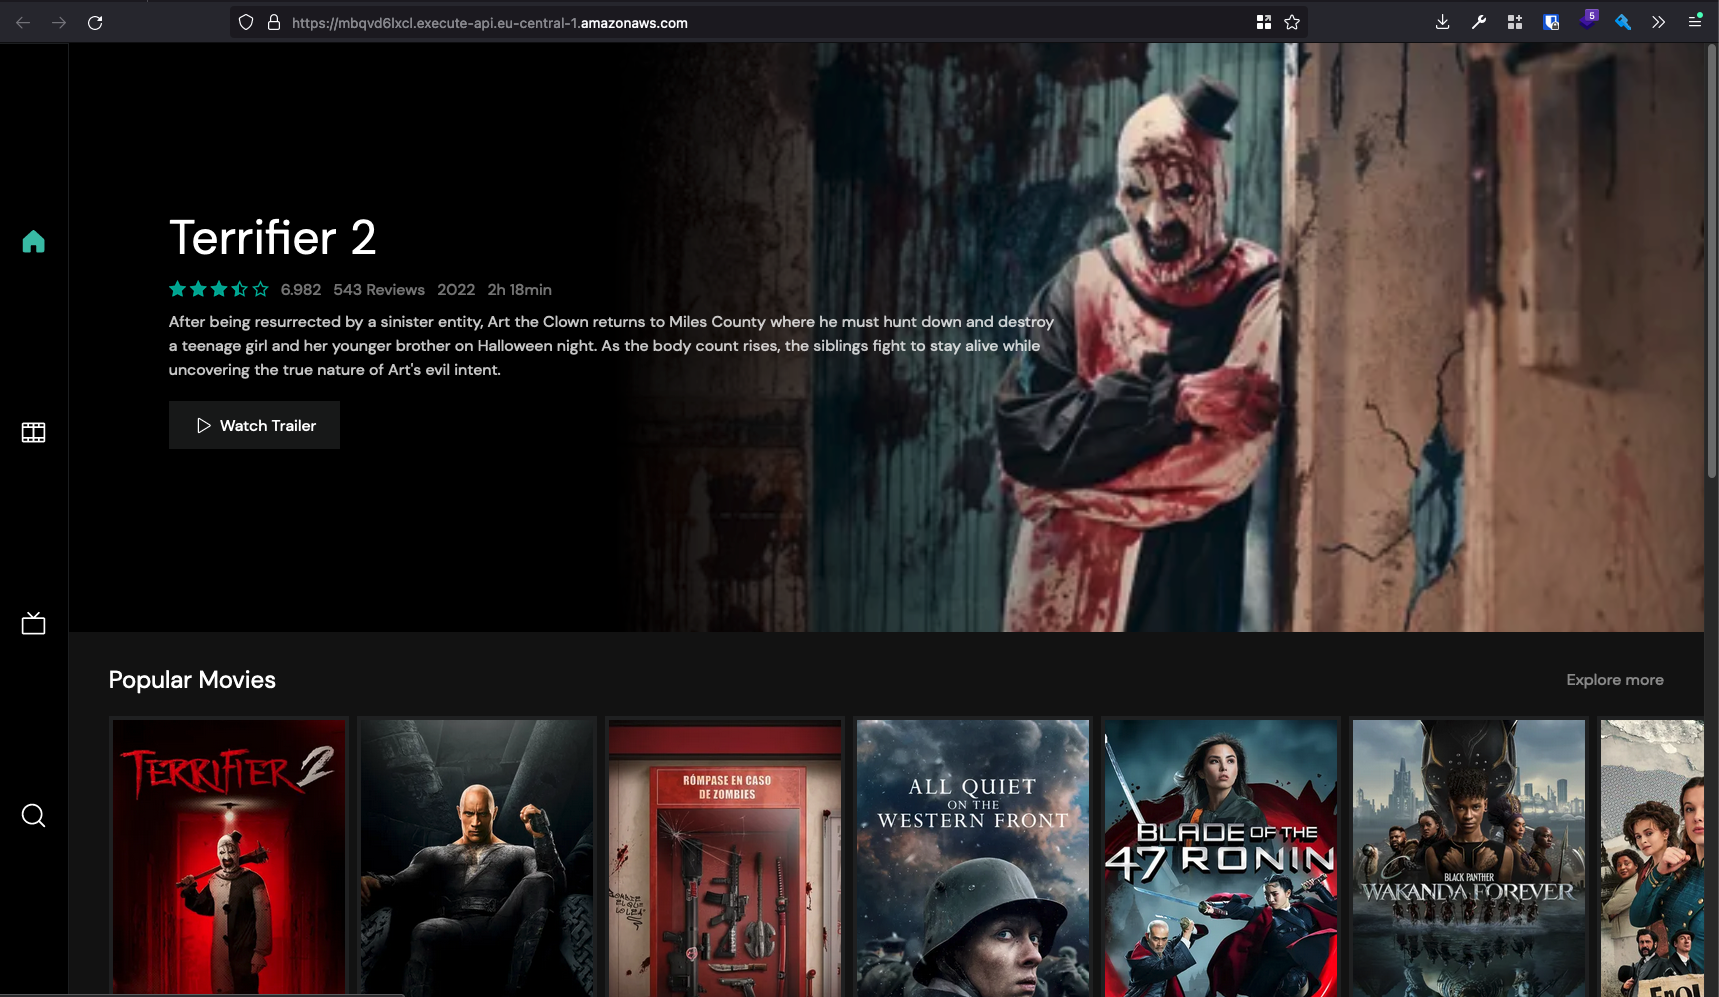
If you head over to the NuxtEndpoint in your browser, you should see your new Nuxt Movie app!
Cleaning up
Finally, you can remove the resources created using the following commands. Don't forget! Even if it's serverless :)
npm run remove
npm run remove -- --stage prod
And that's it!
If you have any questions about this process, feel free to contact us!
We hope you enjoyed learning about all these things! If so, please share this post with your friends and colleagues who may be interested in learning about Nuxt 3 or SST !
Check out our other Nuxt 3 blogpost